Last year, I knew I was going to increase the size of my summer vegetable garden and began to look at ways of preserving food. I knew generally about canning and freezing, but also became intrigued by one of the oldest forms of food preservation: fermenting. It’s a hot topic now, what with probiotics and kambucha and whatnot. Of course, we’ve been eating fermented food for centuries without any of the current hoopla; it was one of the only food preservation games in town. Yogurt, sourdough bread, vinegar, wine, and beer are all fermented products.
Simply put, there is bacteria everywhere, some of it good and some of it bad. Lactobacillus, present in cabbage, (and all fruits and vegetables) goes to work when submerged in brine, converting the sugars in the cabbage to lactic acid, a naturally-occurring preservative that prevents the growth of the bad bacteria.
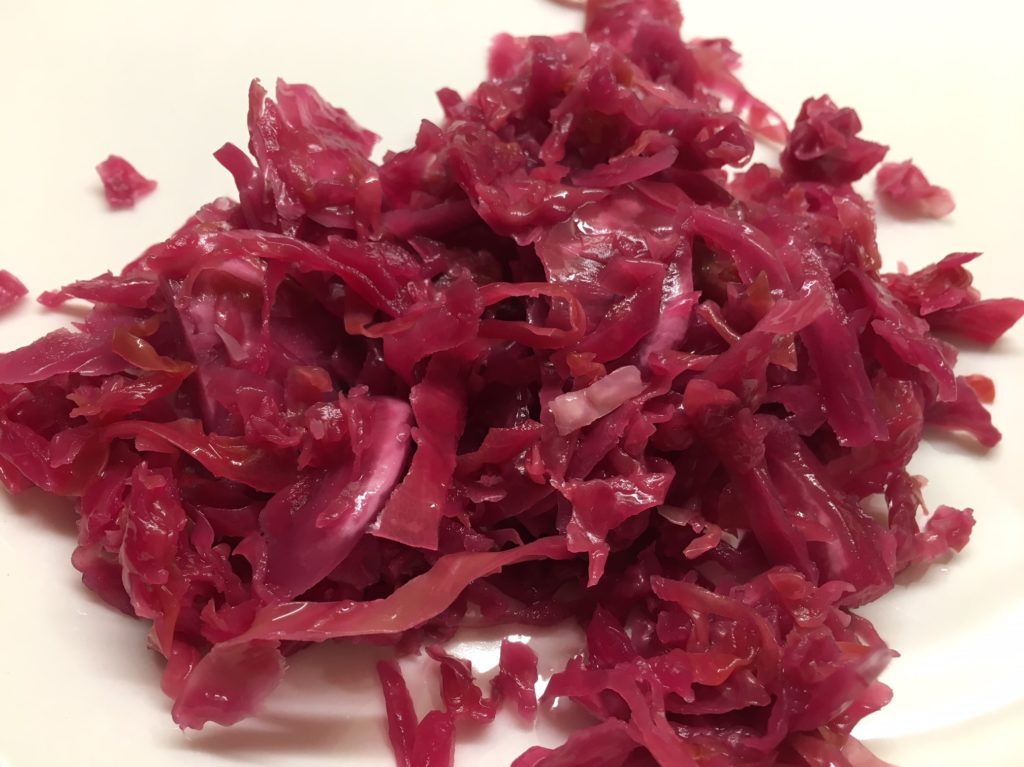
I wasn’t ever a fan of sauerkraut for a long time: too salty or vinegary and limp. This homemade sauerkraut retains a nice crunch because it doesn’t get canned, which cooks it a bit, but you could can it for longer-term or easier storage. I first tried a small batch of homemade kraut made in a quart Mason jar, and it’s so much better than what comes from the supermarket that I now make it fairly regularly, and keep a small group of clientele supplied. Low calorie, if that matters, full of good probiotics, if that matters, vegan and gluten-free, if that matters, and unquestionably delicious, which absolutely matters!
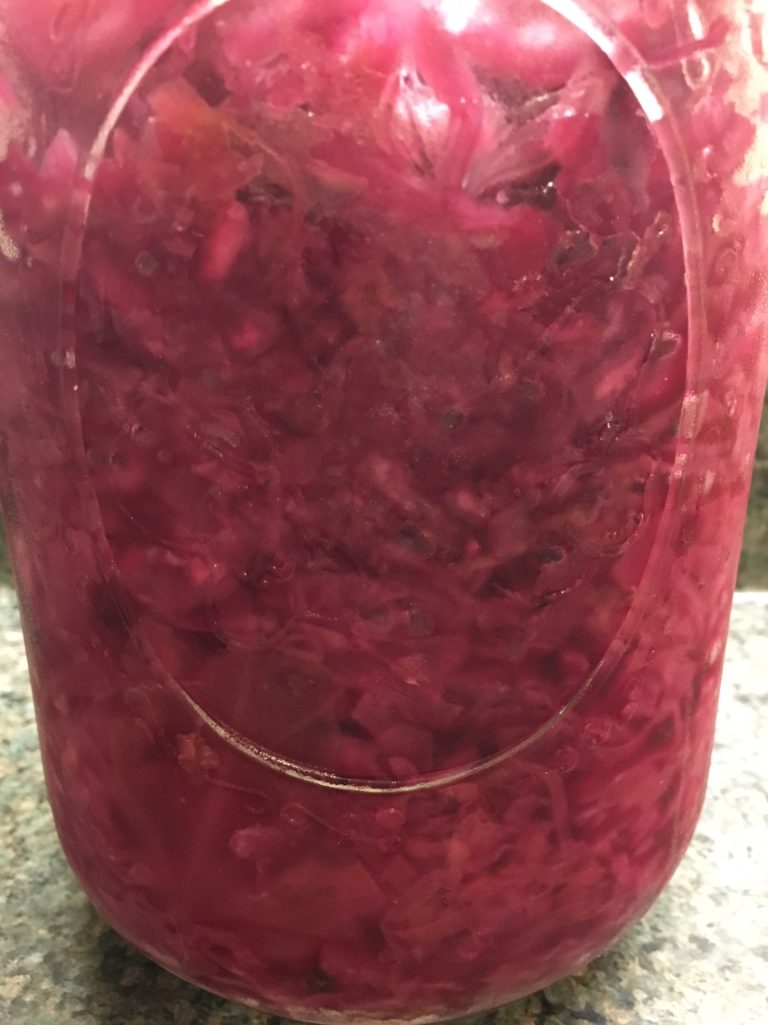
I mix in some red cabbage just because the end result looks pretty but you can use all green, or napa or any combination that strikes your fancy. I do mostly straight cabbage but there are many directions to go. This recipe will give you the basics but feel free to experiment adding carrots, garlic, caraway seeds, or other mix-ins; the ratio of salt to vegetables will stay the same.
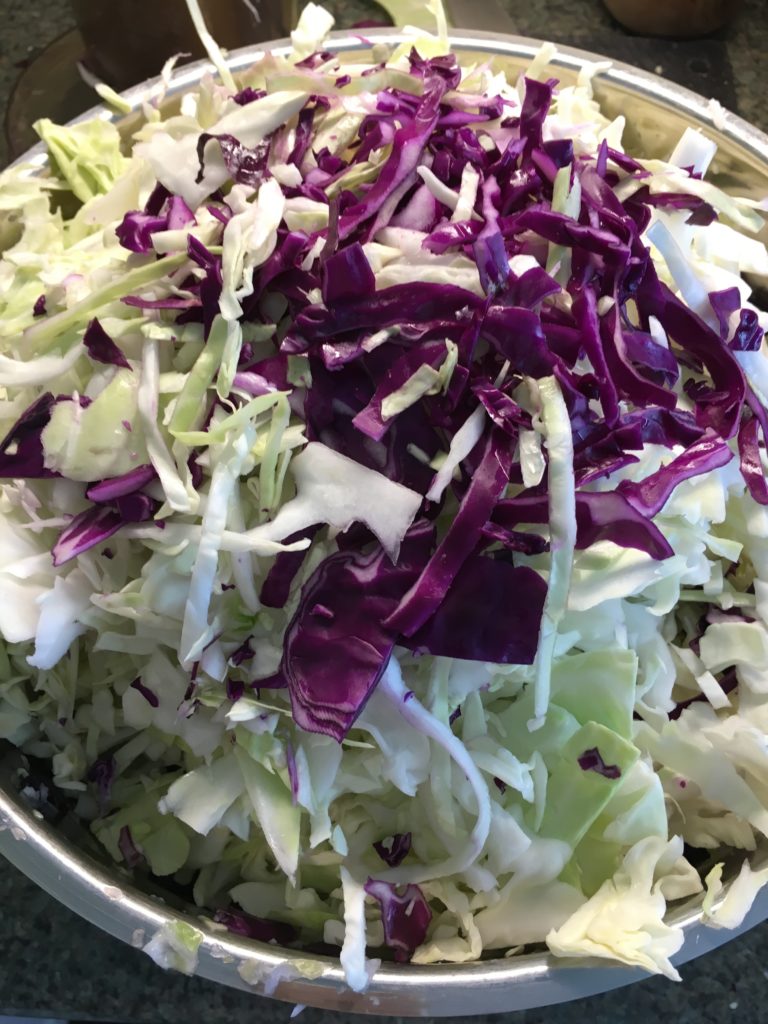
Remove the tough outer leaves, wash, and shred up your cabbage. I use a food processor with a slicing disc; the shredding disc makes the cabbage too fine for my preferences but go with what you like or mix textures. A box grater, kitchen mandolin, or knife works just fine.
Weigh your finished veggies. You can use a range of salt, depending on your taste and willingness to calculate. I find that a 2% salinity works for me, which works out to 20 grams of salt for one kilogram of vegetables, but I’ve read 1.5% to 2.5% will work; it depends on your palate. You can do this by volume with 1 tablespoon of salt per 1 ¾ pounds (800 grams) but weighing is far more accurate and, once you hit your preferred ratio, easily replicated. I also find it easier tow weigh in grams on my kitchen scale. I use sea salt but kosher or pickling salt would work just fine, or any of those fancy-shmancy salts in vogue.
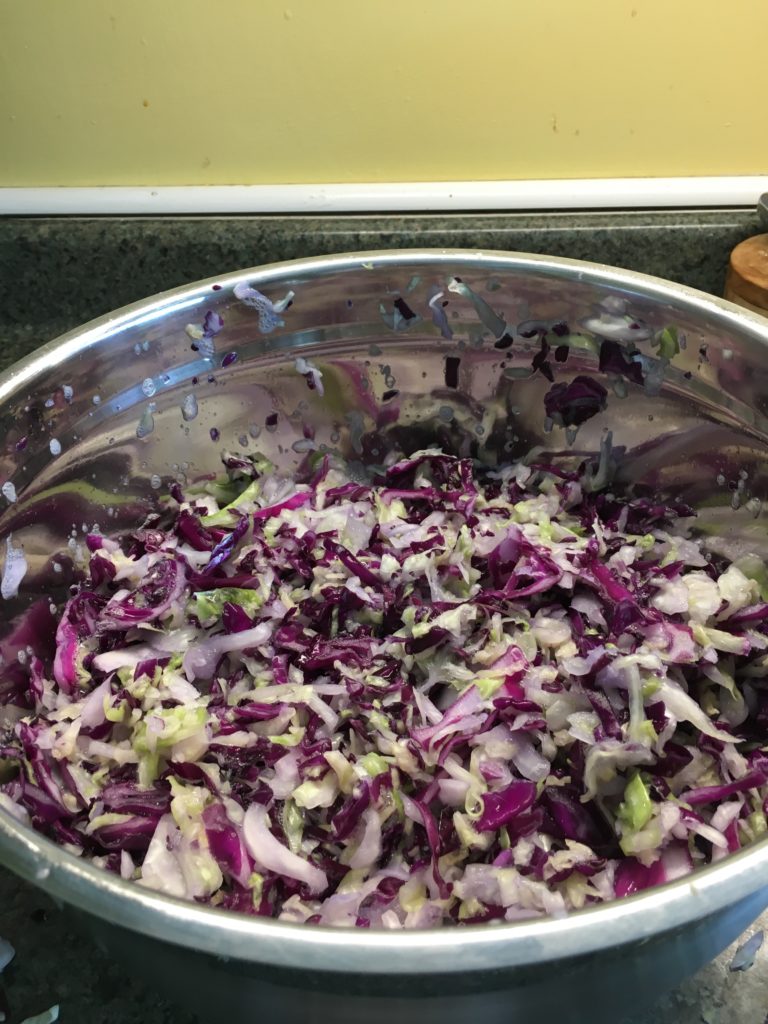
Massage your cabbage, which sounds strange but that’s the best way to describe it. There are wooden pounders for the job, but I scrunch up the cabbage in my hands. FYI—potato mashers were a disappointment. You’re looking to break down the cell walls of the cabbage and, in conjunction with the salt, release liquid. Some people advise a quick beating up of the cabbage and letting it sit, but I work it over until it’s reduced to about half of the original amount, creating lots of brine. Mix in any seasonings and make sure they’re evenly distributed.
Before scrunching
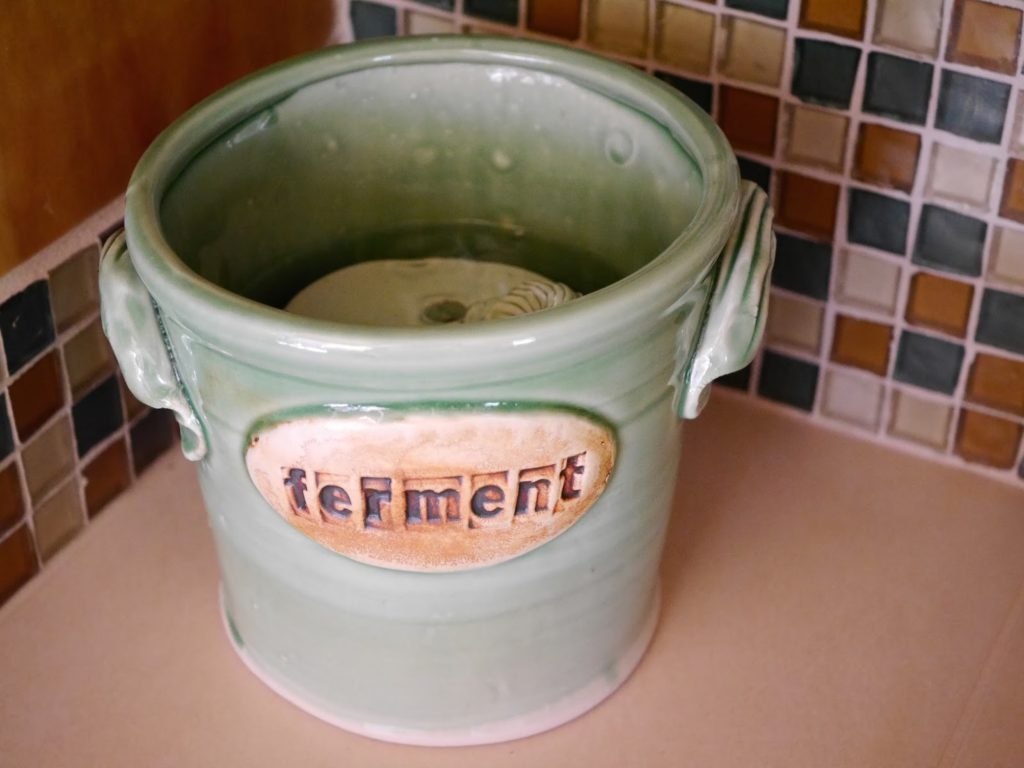
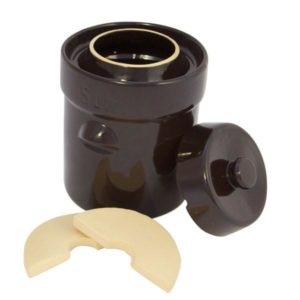
You’ll need some kind of fermenting vessel. There are the traditional fermenting crocks that have weights to keep the vegetables submerged. My stepfather used this and my mother’s lasting memory of the whole experiment had to do with the funky skim on top, not the sauerkraut, so I opted to avoid this method. They’re also very heavy. Newer fermenting crocks still use weights and have an airlock to prevent the funk but they were still heavy, hard to store, and expensive. I was looking for something that wouldn’t break the bank, and be easy to use and store since my space is limited as an apartment renter. I found some excellent tutorials about how to set up Mason jars with some inexpensive parts; just what I was looking for. I use gallon Mason jars, good for so many kitchen projects (see Chive Blossom Vinegar) but certainly smaller batches work just fine in quart jars.
Reduced by about half
Old-style crocks
Newer crocks with air lock
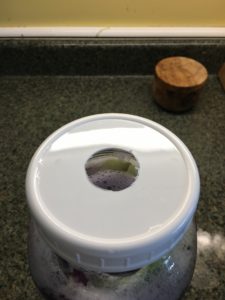
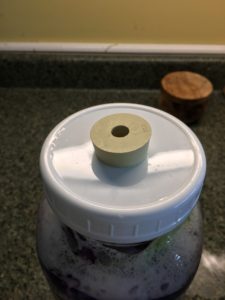
Here’s how to set up the Mason jars. You’ll need the screw-on plastic lids for the canning jars. With a flat drill bit, drill an opening in the center of the lid. (Here was a helpful tip; screw the lid on the jar for this part. The plastic shavings drop right into the jar, nice and tidy.). Pop in a rubber stopper and an air lock (under $2 all together from a home brew store) and you’re good to go.
Whatever container you’re using, make sure all your parts are nice and clean; we want only invited microbes at work.
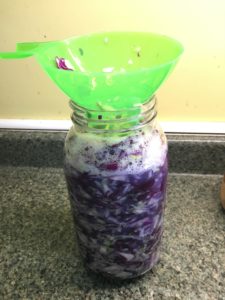
Pack in the cabbage tightly; I find a wide-spout canning funnel makes this much less messy. Add some cabbage and tamp it down, add more and tamp. You’re looking to push out air bubbles so cram it in there. Pour any leftover brine in over the cabbage, leaving about two inches of head room.
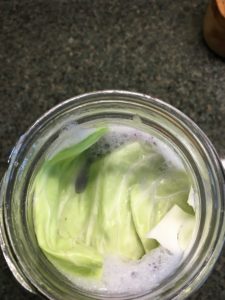
Cover the top of the cabbage with an outer discarded cabbage leaf, a small plate, or some such to cover the entire surface (another reason to prefer the Mason jar; less surface area) and then put a weight on it. I use small jelly jars, which fit just right into the larger Mason jars, and push it down so that it fills up with some of the brine.
Cover with a cabbage leaf
Using a jelly jar
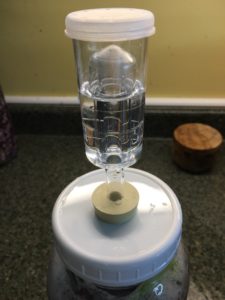
Screw on the top with the rubber stopper, fill the airlock with the required water, and put it in a dark, cool place, with temperatures between 55° and 70°. I put the jars in bowls because I always get a little overflow. Let them sit, doing their thing, for a week or two, then take a taste and assess. If you want it krautier, let it ferment for another week or so. When it’s as you like it, it will keep in the refrigerator for months at a time.